


Alright folks. Here we go.
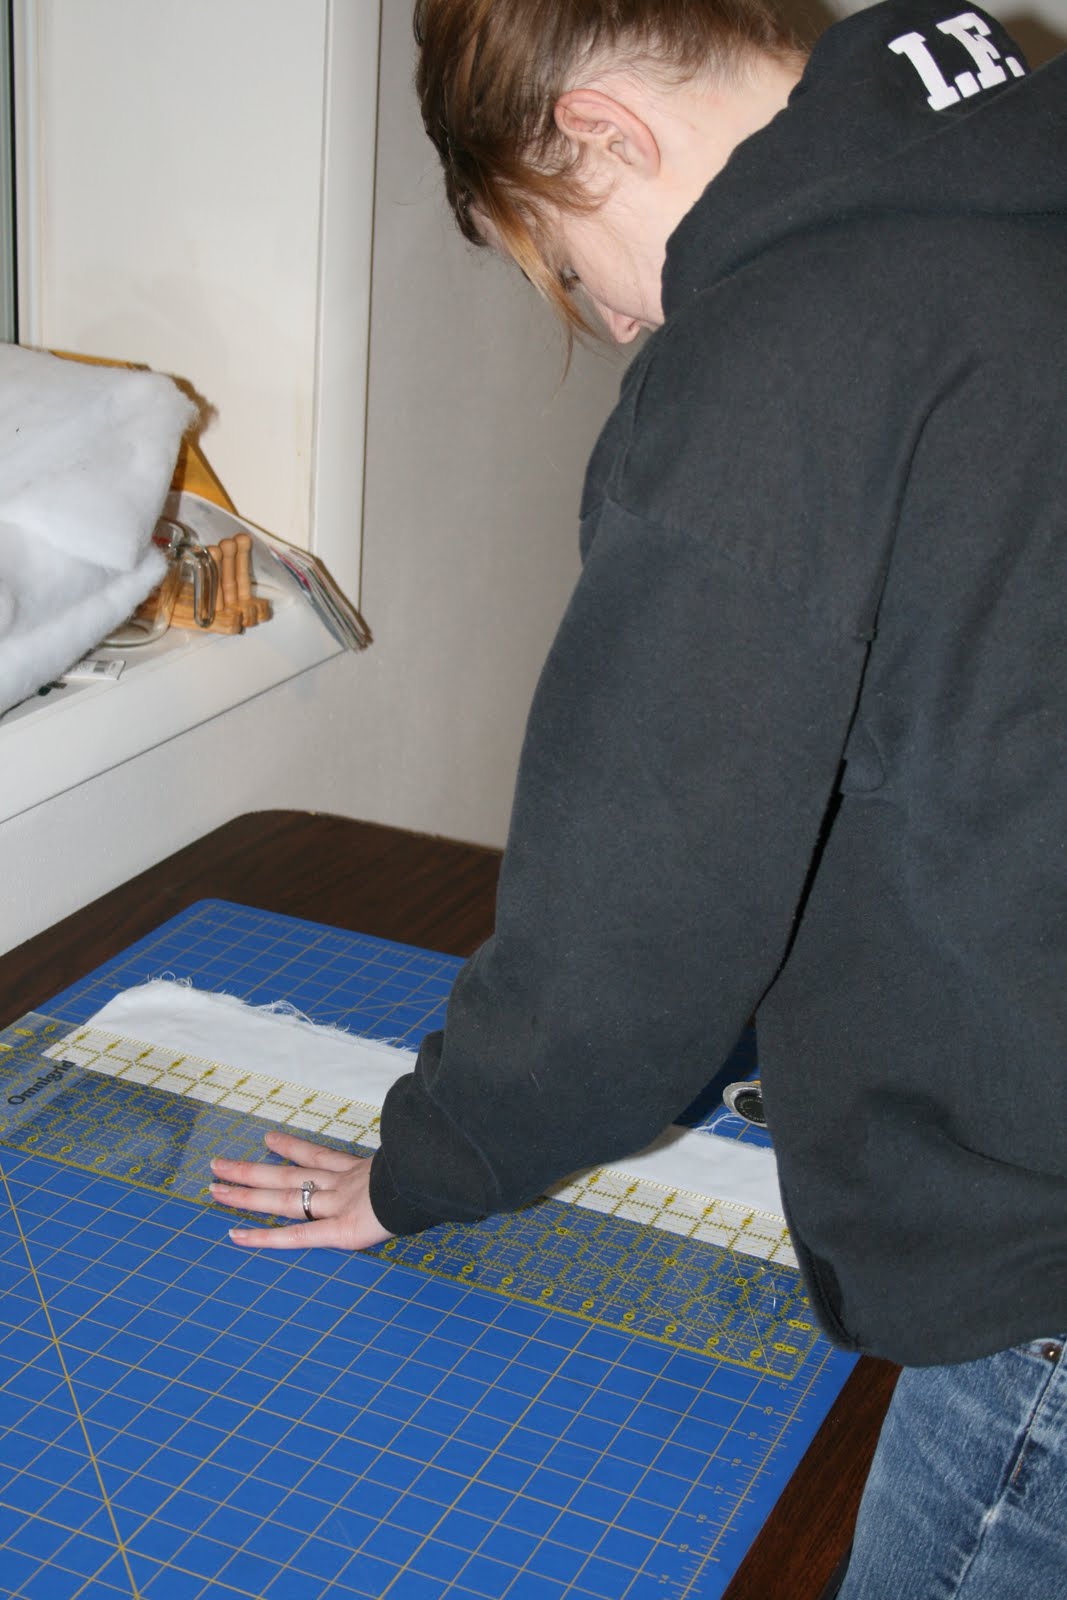
1. Cut strips. Cut fabric into 1-2 inch thick strips. We did 1 3/4" thick on this pillow. Because this was a full size pillow, we used the entire width of the fabric for our length of strips. So if the fabric was 45", than the strips were 45" X 1 3/4". A good rule of thumb is to allow double the length of your pillow for your strips. Fold the fabric in half, or even in half twice, and the cutting will go a lot smoother. Also- if you don't have a rotary cutter and are doing this project, I promise it will be worth the money to go get one. I can't IMAGINE doing this with scissors.
 Do this until you have like...a bajillion strips.
2. Surge Edges. We surged the edges for a cleaner look- using a narrow rolled hem. It makes it very quick if you do chain sewing...where you basically do one side of all the strips and connect each strip so you don't have to stop and start and waste a bunch of thread. Just cut each of them apart at the ends once your done!

 If you don't have a surger, I've seen pillows like this with a frayed look- and since it's just a decorative pillow, it won't matter if it frays since it won't see much movement. If you are really worried, you could just sew a seam 1/8-1/4 in away from edge on each side. I don't think it will be that noticable if the thread is the same color- because of all the ruffles.
3. Ruffle. Set your sewing machine tension to basically the highest tension possible (write down the tension it's normally at so that you don't forget when going back to normal sewing).
 Set your stitch length to the highest number.
 Doing this makes it so that your fabric starts to ruffle on it's own. Not entirely, but it makes the scrunching process a lot quicker.
Sew down the center of each strip. It doesn't have to be PERFECT, cause no one will notice. Trust me!
 See how it starts to ruffle?
 After you've done this, you need to adjust, ruffle, adjust. How you adjust and ruffle more, is by taking a thread and pulling while holding onto your fabric with the other hand. Scrunch it up and really just adjust it with your hands to the ruffle consistency that you like. Some people like a tighter ruffle, some like a looser ruffle. It's really up to you at this point.
 You'll want to place them on your fabric for the pillowcase so that you can visualize how it looks on the pillow.
 Pin strips on front piece of pillowcase.
 Sew strips down the middle of each strip onto pillowcase piece of fabric. You'll want to sew down the entire length of each strip. Remember to put your tension and stitch length back to normal for this.
Sew in zipper now if you are planning on doing so. You could easily do other closures, or simply sew around entire thing, leave a gap to turn inside out, stick pillow inside, and then sew the gap shut. Whatever you wish. This pillow was done with an invisible zipper.

Then pin around the rest of the pillowcase and sew it together!
 And there ya have it!
The ruffle pillow!
These pictures were taken when we were making my friend Lori's pillows. They are the same size as my pin-tucked pillows. Turned out AWESOME! She was super smart and just bought cheap pillowcases from walmart I think, and unpicked the sewing, added ruffles and zipper, and sewed it all back together! Worked perfectly.
No comments:
Post a Comment