
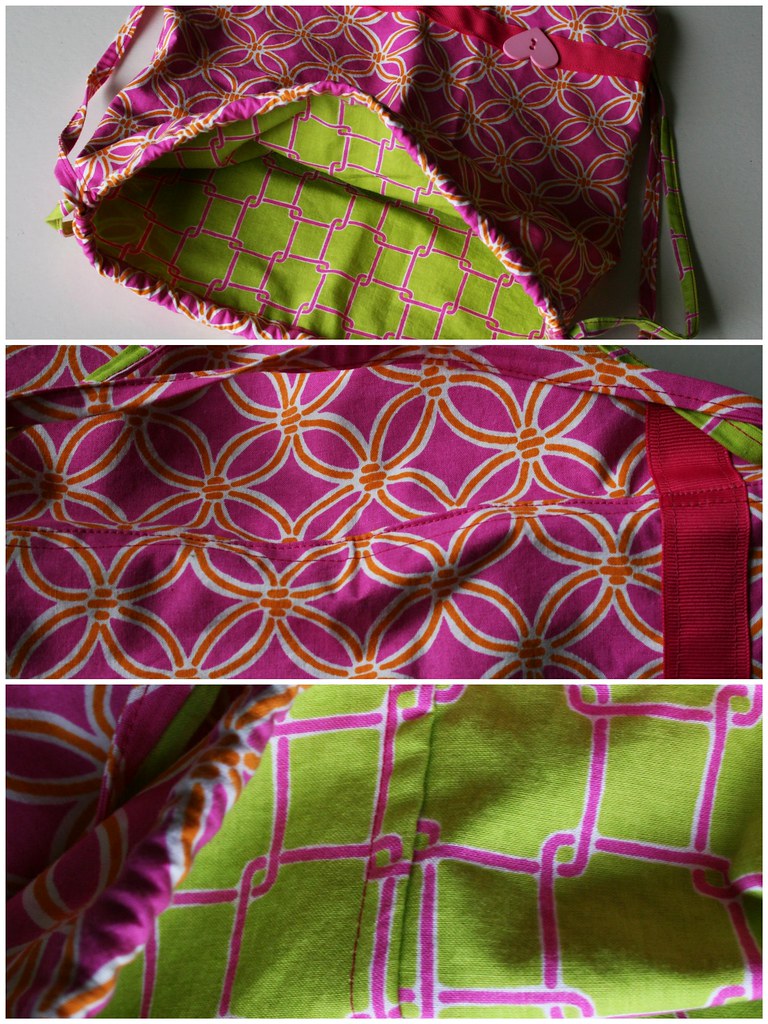
I lined the inside, and used flat-fell seams for the entire thing. That way when you look on the outside it looks nice, and you look on the inside, and it looks nice too! Perfect.
 So. Here are the easy peasy steps.
1. Decide the size you want your bag. I think I did about 14 1/4 in wide...which will make it about 13 inches for the finished product . Line the selvage up with one line, and the fold with another, and then cut the width.

2. If you are adding any ribbons, buttons, trims, ruffles, etc- NOW IS THE TIME! You want to do it before you sew the lining and the outside fabric together, so that you can't see any of the seams on the inside.


3. Put wrong sides together, and then wrong sides together...again. Make sense? You want to pin it so that it looks exactly like the bag will look when it's finished.


 (see how I put wrong sides together, then folded the fabric in half- how it will be when finished)
4. Sew a 5/8 " seam on one side.

5. Press both seam allowances to one side.

6. Trim lower seam allowance to about 1/8 in.

7. Press top seam allowance so that it folds around bottom seam allowance that was just cut. You may want to pin after this step. I didn't, but if you've never done this before it might make it easier when sewing.

8. Sew close to the edge of the fold. And press once finished. ***Sidenote- I didn't do this but quickly realized I should've....when you do this, make the straps before this step and insert the ends of your straps inside the seams to the bottom of the bag. This would make a way more clean and professional look. I was planning on doing this, but forgot!
 This is what it should look like after you've sewn.

9. Make straps. I just cut long pieces of fabric about 2 inches thick or so. Once you cut them, press them so edges meet in the middle.

Press again in half.

Sew close to the edge.

10. Make a button hole in the top part of your bag- about 3/4 in from top. See your sewing machine manual for instructions on this. Each machine is a little different I think.

11. Fold fabric over twice and press, so that the button hole is folded in half at the top of the bag.

12. Sew close to the edge all the way around top of bag.

13. Take a safety pin, and attach it to your strap.

This part was SO FRUSTRATING! You basically have to wrap the strap all the way around so that it comes out where it started. You want to make it so that when you pull on all strings, it scrunches together at the top.

14. Then, if you're foolish (like me) and forget to attatch the straps when sewing the sides together, just fold over ends twice and stitch back and forth in two spots. It isn't the prettiest, but not the tackiest either:)
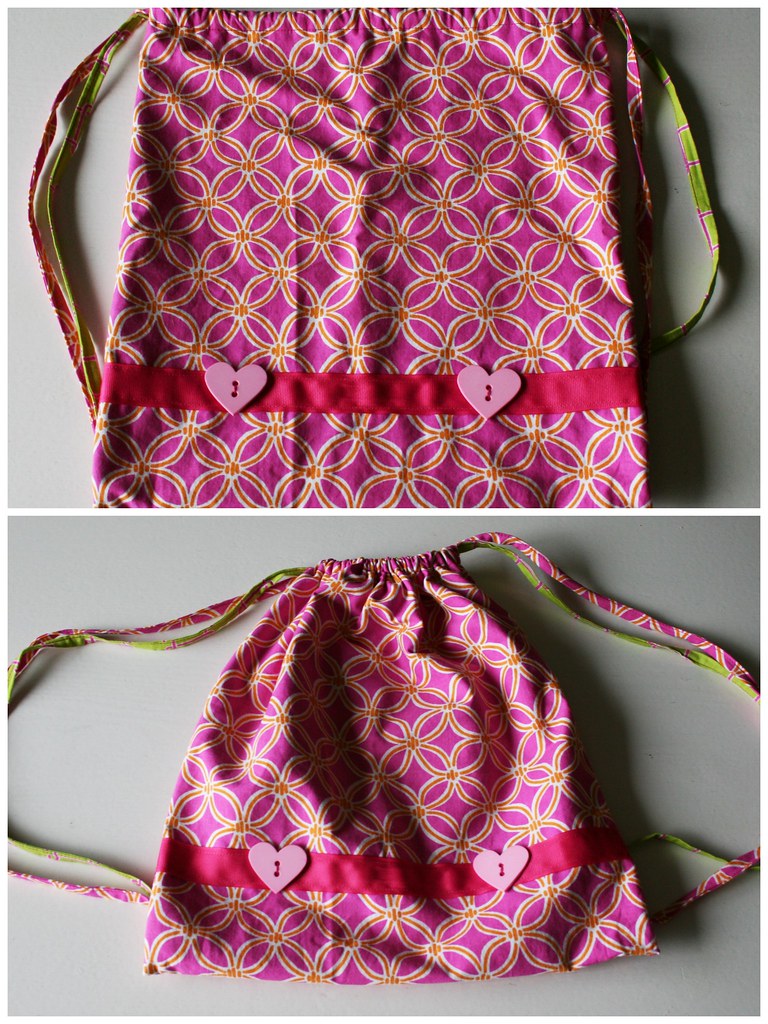
 And voila!
 A cute lil backpack for any five year old. Change up the colors and trims and you could definitely do this for a boy...I'm kinda thinking of doing one for myself actually:)
I was very pleased to hear Rebecca say that the next morning after Gracie's birthday, she got up and RIGHT away put on her new clothes, filled her backpack, put it on, and told Rebecca she was ready to ride her bike (her big birthday present). She started complaining about how heavy her backpack was...keep in mind it's just cotton....and Rebecca opened it to find a book of mormon, and a friend magazine. HA! Rebecca said she must've been feeling rather spiritual that day:)
Well, I'm off to go make the last of the pillows for my bed. Wish me luck! Hopefully by tomorrow I'll have pics up of them!!! Be excited- they are awesome!
1 comment:
I am excited to see your awesome pillows! I love your living room too!
Post a Comment