Do you have anything in your life that makes your face do something like this?
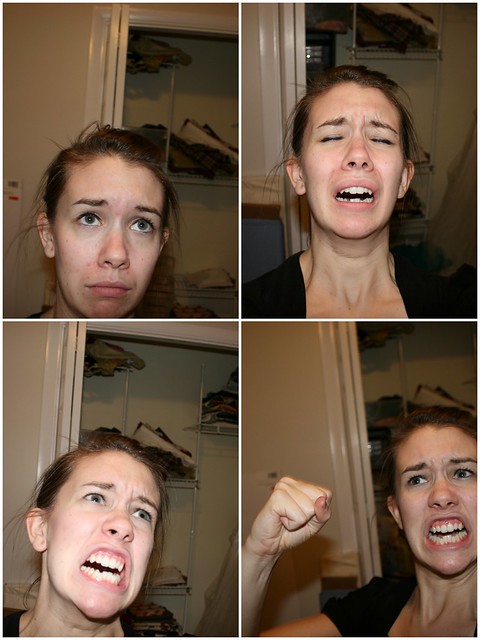
Yeah...basically my face did that ALL THE TIME! Well...actually, it only did that when I ironed something and if I'm being honest...wouldn't make that very often :)
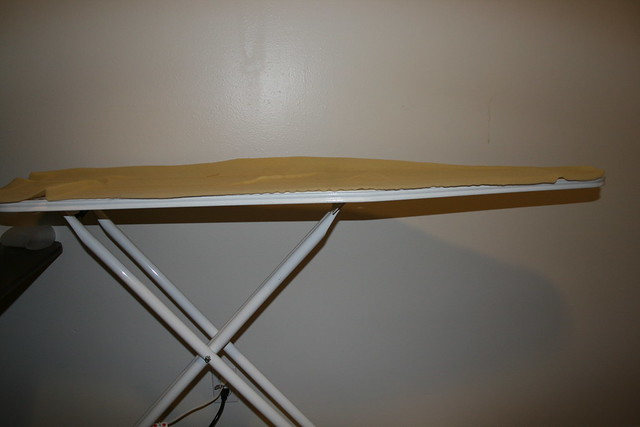
This was my ironing board.

PATHETIC! Do you SEE how none of the edges are secured around the board? How it is basically just some fabric and padding sitting atop the metal? With no fastening?
Everytime I put a skirt, or really much of ANYthing on there...the end would bunch up and it'd be a constant struggle. So I was finally like- HECK! I can fix this! What's the big deal?
Keep in mind this is SIMPLE to the T. I didn't really care about perfection cause it's one of those things that just needs to be functional. Not anything I'm selling or showing off.
First things first, take that nastiness OFF my board. I took out the string and kept it for the new cover, and also kept the padding that goes under the cover.
Then I measured the length and width of the board.
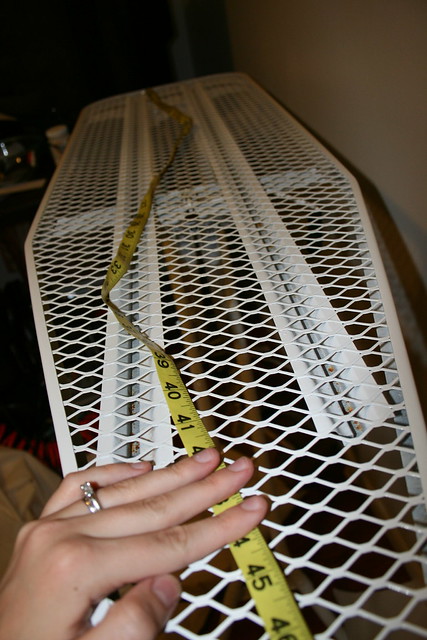
I decided to cut a piece that was at least 6 inches wider on EACH side...meaning 12 inches wider and 12 inches longer. I then laid it on my ironing board to get an idea what I was dealing with (they are kinda funky shaped).

I then cut around the entire thing to make it even.
Yeah...basically my face did that ALL THE TIME! Well...actually, it only did that when I ironed something and if I'm being honest...wouldn't make that very often :)
This was my ironing board.

PATHETIC! Do you SEE how none of the edges are secured around the board? How it is basically just some fabric and padding sitting atop the metal? With no fastening?
Everytime I put a skirt, or really much of ANYthing on there...the end would bunch up and it'd be a constant struggle. So I was finally like- HECK! I can fix this! What's the big deal?
Keep in mind this is SIMPLE to the T. I didn't really care about perfection cause it's one of those things that just needs to be functional. Not anything I'm selling or showing off.
First things first, take that nastiness OFF my board. I took out the string and kept it for the new cover, and also kept the padding that goes under the cover.

Then I measured the length and width of the board.

I decided to cut a piece that was at least 6 inches wider on EACH side...meaning 12 inches wider and 12 inches longer. I then laid it on my ironing board to get an idea what I was dealing with (they are kinda funky shaped).


After that I surged the entire perimeter of the piece so that no fraying would happen and just to make a cleaner result.
 Keep in mind you don't HAVE to surge around it. This is just cleaner...if you don't have a surger you could zig-zag around the edges with your sewing machine, or just leave it! It's not like you're gonna see much action underneath your ironing board so it wouldn't fray for a long time.
After that I simply folded over once, about 1/2 inch, sewed around the entire thing and left an opening about an inch.
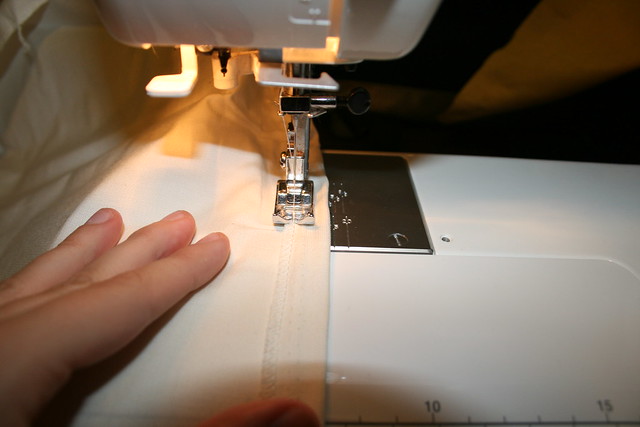
I then tied the string to the end of a safety pin, and led it through the opening and out the other end.

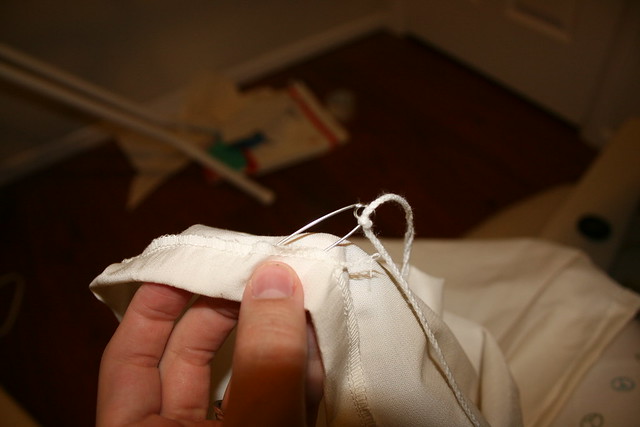
Then I simply put it on my board, pulled the string SUPER TIGHT, and tied it into a bow!
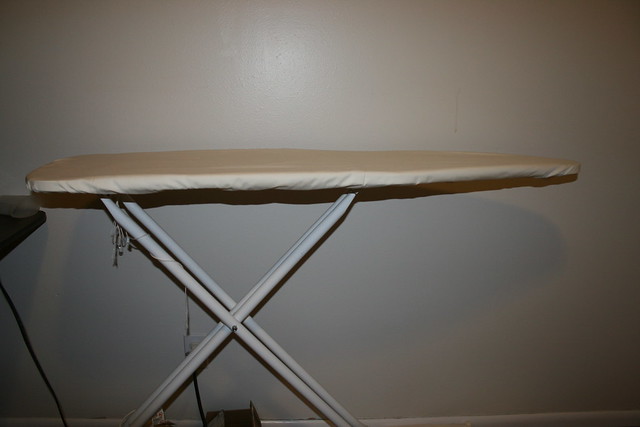
Walah!- a new ironing board that DOESN'T BUNCH, and looks much nicer in my opinion. I really wish I'd have done this about a zillion years ago when it started...

Note- I think the trick that made this so successful was the amount of excess fabric I allowed around the entire thing (6" past the edge of board) that way after I'd surged and created a "hem" or "pocket" for my string to go through, there was around 5 inches being pulled tight underneath. This doesn't leave much room to come off the board. My old cover was just BARELY hanging on. It had barely ANY excess fabric off of the board. So, when making yours...if you think that is WAY too much fabric- think again. This is exactly what makes it fastened so well! And yes, I've used my ironing board a bunch since I made this and it's AWESOME! I think I iron more often too:)

4 comments:
OH MY GOSH- I am so glad you did this, because my ironing board is the same- adn I hate it- and I didn't know it was so easy! I for soem reason thought it woudl be really tedious and hard! My dilema- I really want to do fun fabric, but on teh other hand- when I'm sewing something- i kind of doon't want al teh distraction, and patterns al over the place, so I kind of just want white also- the struggles in life! I LOVED your pictures- they made me miss you so much I was laughing so hard! love ytou so much-
I just looked at your post again just so I could see your faces- they are so funny- love the fist in the air- and the one where you look like you're yelling- hahaa- love it.
I'm very impressed. But the pictures...so funny. I love them, and your writing is funny too. Love you.
So sorry I didn't comment earlier. I read it the DAY it came out, but you know, surely I got distracted by one of my wee ones. Everyone probably gets sick of that excuse. But it's true.
Anyhow, back to you. This rocks. Your site rocks. I LOVE the faces you made at the beginning and the descriptions you wrote.
Sorry we haven't talked much since you talked to the doc. We had to show our house twice, which meant lots of cleaning and Elle is super sick, so i do the cleaning one handed. Sorry I'm complaining.
I miss you. I love you. I should be around tomorrow if you want to call and talk grains. Love you!
Post a Comment