
So, I already told you I took pictures along the way, I just never posted them. Now is the time- to unveil the secret....it really isn't as hard as it looks! I'm serious! As long as you have the right tools, which would be: a)flat head screw driver; b)staple gun; c)fabric; d)a desire to have an awesome looking chair in your living room.
Welp, let's get started!
First thing we did, was take out ALL of the decorative tacs. We did this with flat head screw drivers, like so:
 If you look at the bottom left picture, of the collage above, you'll see us taking out nails...this was HARD and REALLY annoying. In all the spots they didn't have decorative tacs, which was basically the majority of the chair...were NAILS! We could've just taken hold of the fabric, and pulled...but then the fabric would rip...and we wanted to use the fabric for a pattern.
We paid VERY special attention to the detailed spots so we wouldn't forget how to put it back together. Like the following spots:
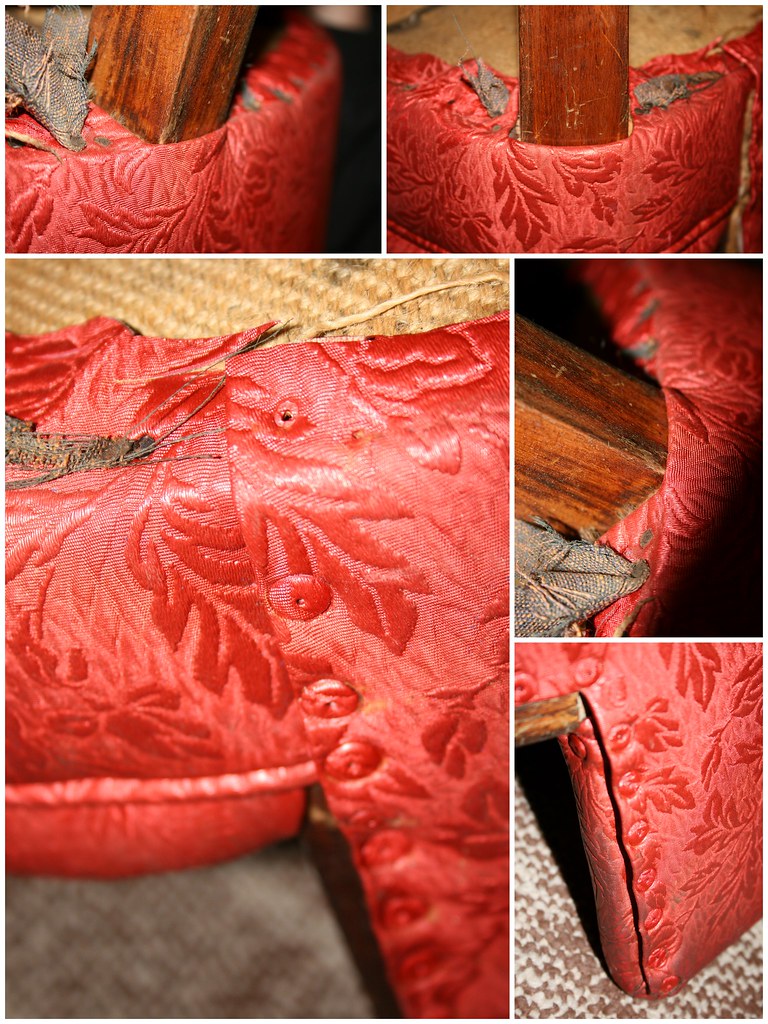 Certain spots like the legs...were done certain ways...like, folded under in one spot, tucked in another...you know. So we had to take note to make sure we did it the same way.
So after we took out all of the tacs and nails (this seriously took at LEAST 3 hours...and that is with Lori- so if I did it by myself it'd probably be like 8 hours. Yes, I know that's MORE than double the time...but she is pretty speedy) the chair looked like this:
 K- I kid you not- the inside of this chair was NASTY! It had food and toothpicks and coins CAKED on. So gross. So of course, the next step was to vaccuum out all that disgustingness.
Next, I didn't take pictures of this part (should have!), but we unpicked the piece where your back rests, so that we could get a real dimension of what those pieces are before the piping is sewn in. Then we laid out all the pieces we carefully took off, onto my beautiful fabric.
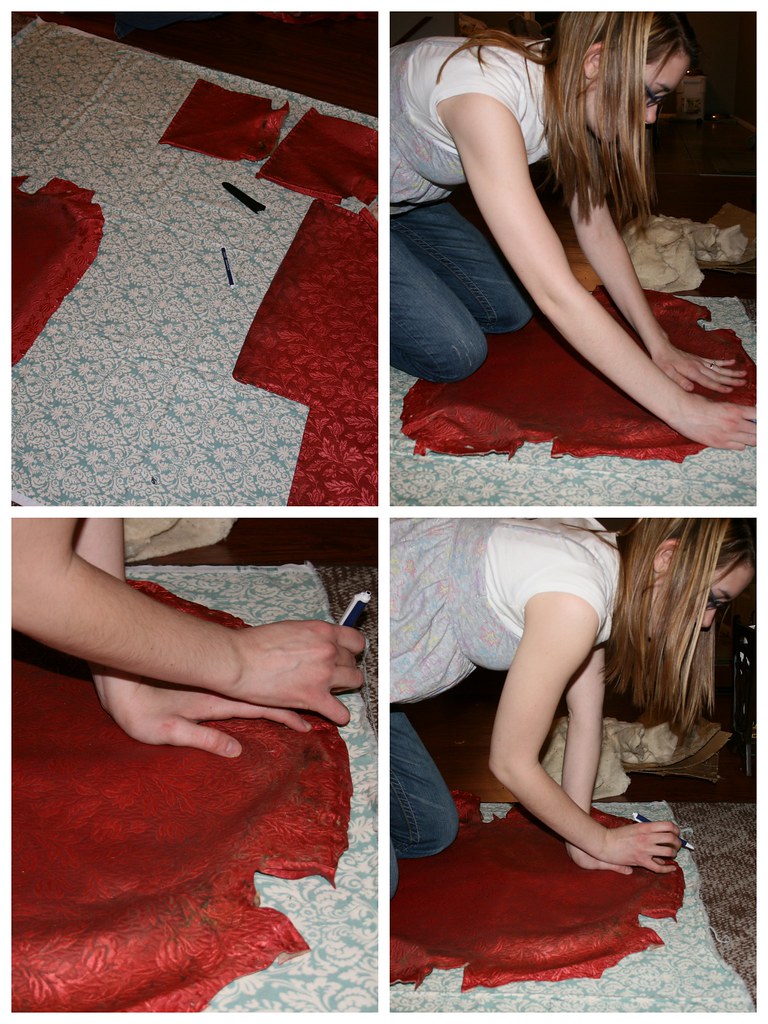 We honestly traced the pieces with a pen. I wish I had a permanent marker, but I didn't- otherwise I would've done that. It doesn't matter because all the edges are tucked in the chair- so who cares if you see markings? Not I!
Then we carefully cut out the pieces...and I sewed my piping. If you don't know how to do piping- it's super simple. Google it or something. I will do a tutorial later on that maybe when I do my second chair.
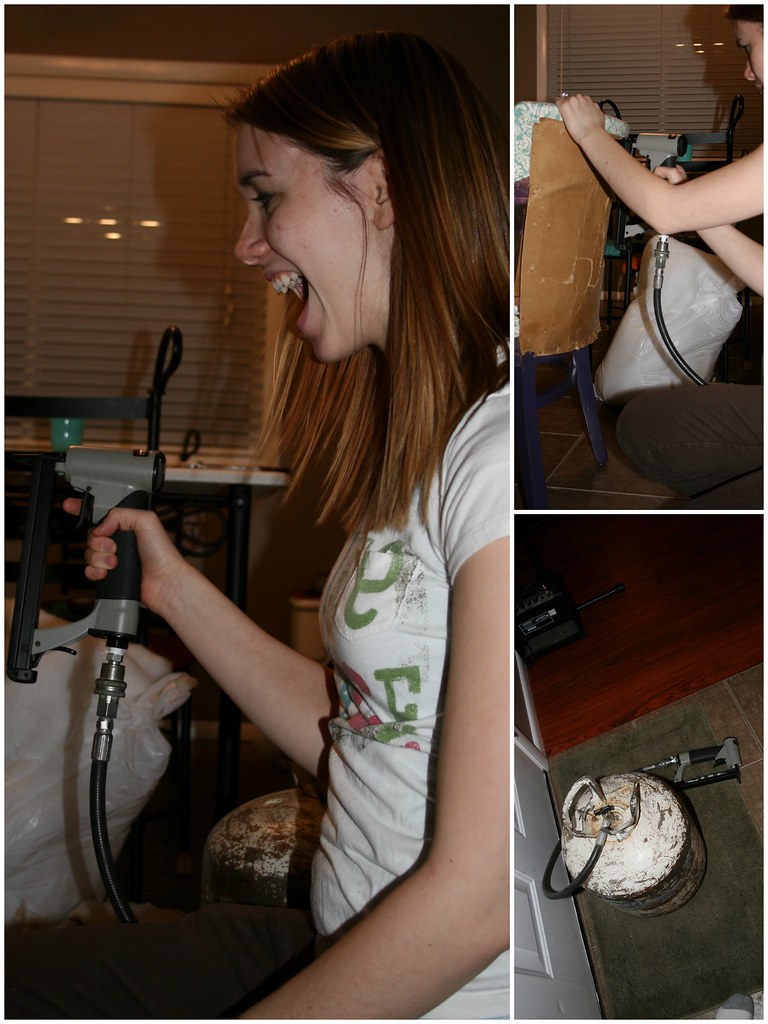
Then...we used a friggin SAWEET staple gun that Patty & Paul lent us, which is powered by air...and it was P-O-W-E-R-F-U-L! The boys (Kurt & Clay) kept saying, "Don't hurt each other", "Be Careful", "blah balhbalhlahblah". We did just fine:) Anyway, we basically put it back together like so: the LAST piece we took of the chair, was the FIRST to go back on. The FIRST piece we took of the chair, was the LAST to go on. You see? You just go backwards.
So, after we did all the stapling, it was time to put on the pieces that were held together by the decorative tacs. I didn't take pictures of this...but a tip we have is, use the same holes they came out of! Makes it so much easier. Lori pretty much did this entire job on the chair, and she found that if she pulled the fabric back, poked around the wood and found the hole, it was way easier to put through the fabric and into the chair. A few times we couldn't find a hole, so we had to nail it in- which was HARD TO DO! But, we managed.
A few things that weren't in the step by step, that I would suggest:
- Use the batting that the chair already has
- Fabreeze the inside of the chair if you are using that batting- I did, and could no longer smell anything:) Gross you out?
- Use a friend- it makes it way more fun, and way easier, AND way faster
- I spray painted the legs and arms....purple. I did this after all the old fabric was taken off, and before the new was on. I didn't even remove the batting...it didn't matter if it got some spray paint on. If you don't like the look of bright colored wood, or painted wood, re-stain it!
- Reuse the decorative tacs. Why go spend a bum-load of money when you have perfectly good tacs from the old chair?
 After you reupholster something, you will think of all sorts of things you want to reupholster. You will love it. DO IT!
We got inspired by allthingsthrifty.com. They did a tutorial on how to reupholster a chair.
5 comments:
oh my gosh- I wish you lived here so you cuold help me make one. So- I have a question- since you put the tacs in the same holes as before- don't they want to just pop out? LIke- they're not as snug as before- making it so they want to come out of their holes- or do they still stay in there good? You get what I mean?
They stay in good. They are still really really tight.
L O V E love it. When are we gonna do your other chair?
very cool, felt like I was watching a TV show. Love and miss you!!!
I am so impressed! LOVE it!!!
Post a Comment